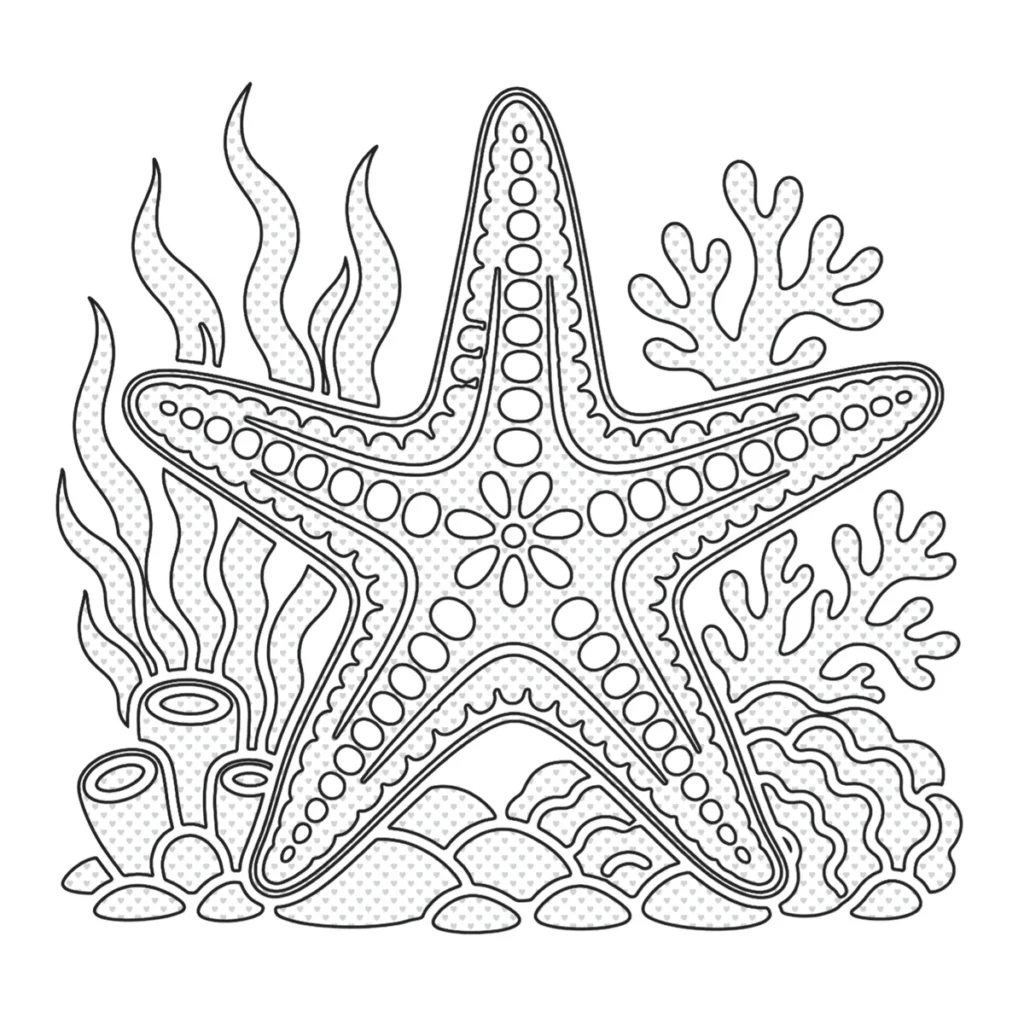
Monochrome colouring is designed to make starting simple. The artwork already contains the bold black structure, while small hearts show you which white areas are yours to colour. All you need is one black marker and a little time to begin.
The structure is already there
Each design begins with its main black-and-white structure already in place. The printed black areas create much of the contrast and character of the finished artwork, leaving selected white spaces ready for you to complete.
Follow the small hearts
Small hearts appear inside the white areas intended for colouring. They act as a gentle guide, helping you see immediately where to add black without having to work out which spaces belong to the finished design.

One black marker is all you need
You do not need a large collection of colours. One black marker is enough to complete the design and reveal the finished monochrome image.
Begin wherever feels comfortable. A brush tip is useful for larger open areas, while a fine tip gives you more control in smaller or more intricate spaces.
Watch the image emerge
As the marked white areas gradually become black, the balance of the design changes and the finished image begins to emerge. There is no need to rush — simply work through the page one section at a time.
A practical note before you begin
If you are using markers that may transfer through the paper, place a backing sheet behind the page before you begin. We also recommend testing unfamiliar pens or markers first.